Perfect Fluffy Bread Machine Rolls: Your Guide to Effortless Homemade Goodness
There’s something uniquely comforting about the aroma of freshly baked bread wafting through your home. In a world that often feels rushed, taking a moment to create something delicious can be a truly grounding experience. And when it comes to achieving that perfect balance of comfort and convenience, nothing beats the bread machine. This ingenious kitchen gadget transforms the often daunting task of bread making into a simple, joyous process, especially when you’re craving warm, pillowy-soft rolls. Imagine sinking your teeth into a roll so light and tender it practically melts in your mouth – that’s the promise of truly
fluffy bread machine rolls.
These aren’t just any rolls; many describe them as having that delightful sweetness reminiscent of store-bought Hawaiian sweet rolls, but with the unbeatable freshness and warmth of homemade goodness. They're an instant family favorite, perfect for mopping up gravy, accompanying a hearty stew, or simply slathered with butter and jam for an afternoon treat. The best part? They’re made with everyday pantry staples and require minimal effort on your part, thanks to the bread machine doing most of the heavy lifting. If you’re looking to infuse your home with the delicious scent of baking and create some culinary magic without the fuss, these are the rolls for you.
The Magic Behind Fluffy Bread Machine Rolls: Ingredients Explained
The beauty of these
easy bread machine rolls lies not just in the machine's efficiency, but also in the simplicity and quality of the ingredients. You don't need exotic items or a specialized grocery run; everything you need is likely already in your kitchen. But understanding the role each component plays is key to achieving that desired fluffy texture and rich flavor.
*
Milk: This is the primary liquid in our recipe, providing hydration to the dough. Using milk, especially whole milk, contributes to a richer flavor and a more tender crumb compared to water. The fats and sugars in milk help create a softer texture and promote beautiful browning. While whole milk is recommended for ultimate richness, skim milk works perfectly fine if that's what you have on hand.
*
Bread Flour: This is a non-negotiable for truly
fluffy bread machine rolls. Bread flour has a higher protein content (typically 12-14%) than all-purpose flour. This extra protein develops more gluten, which is essential for giving the rolls structure, elasticity, and that satisfying chewiness, while still maintaining incredible softness. Avoid substituting with all-purpose flour if you want the best results.
*
Sugar: Beyond just adding sweetness, sugar plays a vital role in bread making. It’s the primary food source for your yeast, kick-starting its activity and helping the dough rise. It also contributes to the golden-brown crust and enhances the overall flavor, giving these rolls that delightful hint of sweetness often compared to
homemade Hawaiian sweet taste.
*
Salt: While often overlooked, salt is crucial. It doesn't just add flavor; it also controls the yeast's activity, preventing it from rising too quickly and ensuring a more even and robust rise. Without salt, your rolls would likely be bland and could over-proof, leading to a collapsed texture.
*
Melted Butter: Butter is a key player in achieving a rich flavor and a wonderfully soft, tender crumb. The fat in butter shortens gluten strands, contributing to that melt-in-your-mouth quality. Melting it ensures it disperses evenly throughout the dough.
*
Active Dry Yeast: The leavening agent that makes our rolls light and airy. Active dry yeast needs to be activated, usually by liquid, but in a bread machine, it's often added directly with other dry ingredients, and the machine's warming cycle does the job. Ensure your yeast is fresh; old yeast is the most common culprit for dough that doesn't rise. A simple trick is to check the expiration date, or test a small amount in warm water with a pinch of sugar to see if it foams.
Mastering Your Bread Machine: Step-by-Step for Perfect Dough
The beauty of the bread machine is its ability to take the guesswork and effort out of dough preparation. It meticulously mixes, kneads, and proofs the dough to perfection, leaving you with a light, airy base ready for shaping. Here’s how to ensure your bread machine delivers flawless dough every time for your
fluffy bread machine rolls.
1.
Ingredient Order Matters: This is perhaps the most critical step for bread machine success. Different machines have different recommendations, so always consult your specific bread machine’s manual first. The common practice, often listed in manuals, is to add liquids first, followed by dry ingredients, and finally the yeast on top. For many machines, the order looks like this: milk, bread flour, sugar, salt, melted butter, and finally, the active dry yeast, placed on top of the dry ingredients, away from the liquid until the mixing cycle begins. This layering prevents the yeast from activating too early and ensures optimal mixing.
2.
Let the Machine Do Its Work: Once all ingredients are in, select the "Dough" cycle on your bread machine. This cycle typically lasts between 1.5 to 2.5 hours, depending on your model. It will meticulously mix, knead, and then perform the first rise (proofing). Resist the urge to peek too often! When the cycle completes, open the lid to reveal a beautiful, soft, and significantly risen ball of dough. It should be supple, smooth, and full of air – truly a "fluffy ball of dough" as described.
3.
Gentle Deflation and Dividing: Turn your perfectly proofed dough out onto a lightly floured surface. You want to handle it gently at this stage to preserve as much of the air as possible. Lightly deflate the dough by gently pressing down with your fingers or the palm of your hand, forming it into a rough rectangle. This recipe typically yields about 16 rolls, so you’ll want to divide the dough evenly. A simple method is to divide the dough into four equal pieces, and then divide each of those pieces into four smaller, roughly equal portions. This ensures consistent roll sizes, which helps them bake evenly.
4.
Shaping and Second Rise (Proofing): Take each small dough portion and gently roll it into a tight ball. The goal is to create a smooth surface on top and pinch any seams together at the bottom. Arrange these dough balls in a greased baking pan, leaving a little space between each roll for them to expand. Cover the pan loosely with a clean kitchen towel. Now, let your rolls undergo their second rise in a warm, draft-free place for about 45-60 minutes, or until they have doubled significantly in size and look wonderfully puffy – “little soft snuggle balls of happiness,” indeed!
5.
Baking to Golden Perfection: While your rolls are enjoying their second rise, preheat your oven to 350°F (175°C). Once the rolls have sufficiently risen, transfer them to the preheated oven. Bake for 16-18 minutes, or until their tops are beautifully golden brown. The exact timing can vary slightly depending on your oven, so keep an eye on them.
6.
Cooling and Enjoying: Remove the pan from the oven and allow the rolls to cool slightly. While it's tempting to dive right in, giving them a few minutes to cool prevents you from burning your mouth and allows the internal structure to set. However, these rolls are undeniably best enjoyed warm, ideally with a generous smear of butter or your favorite jam.
Pro Tips for Irresistible Fluffy Rolls
Achieving soft and
fluffy bread machine rolls is already easy with the bread machine, but a few pro tips can elevate your baking from great to absolutely unforgettable.
*
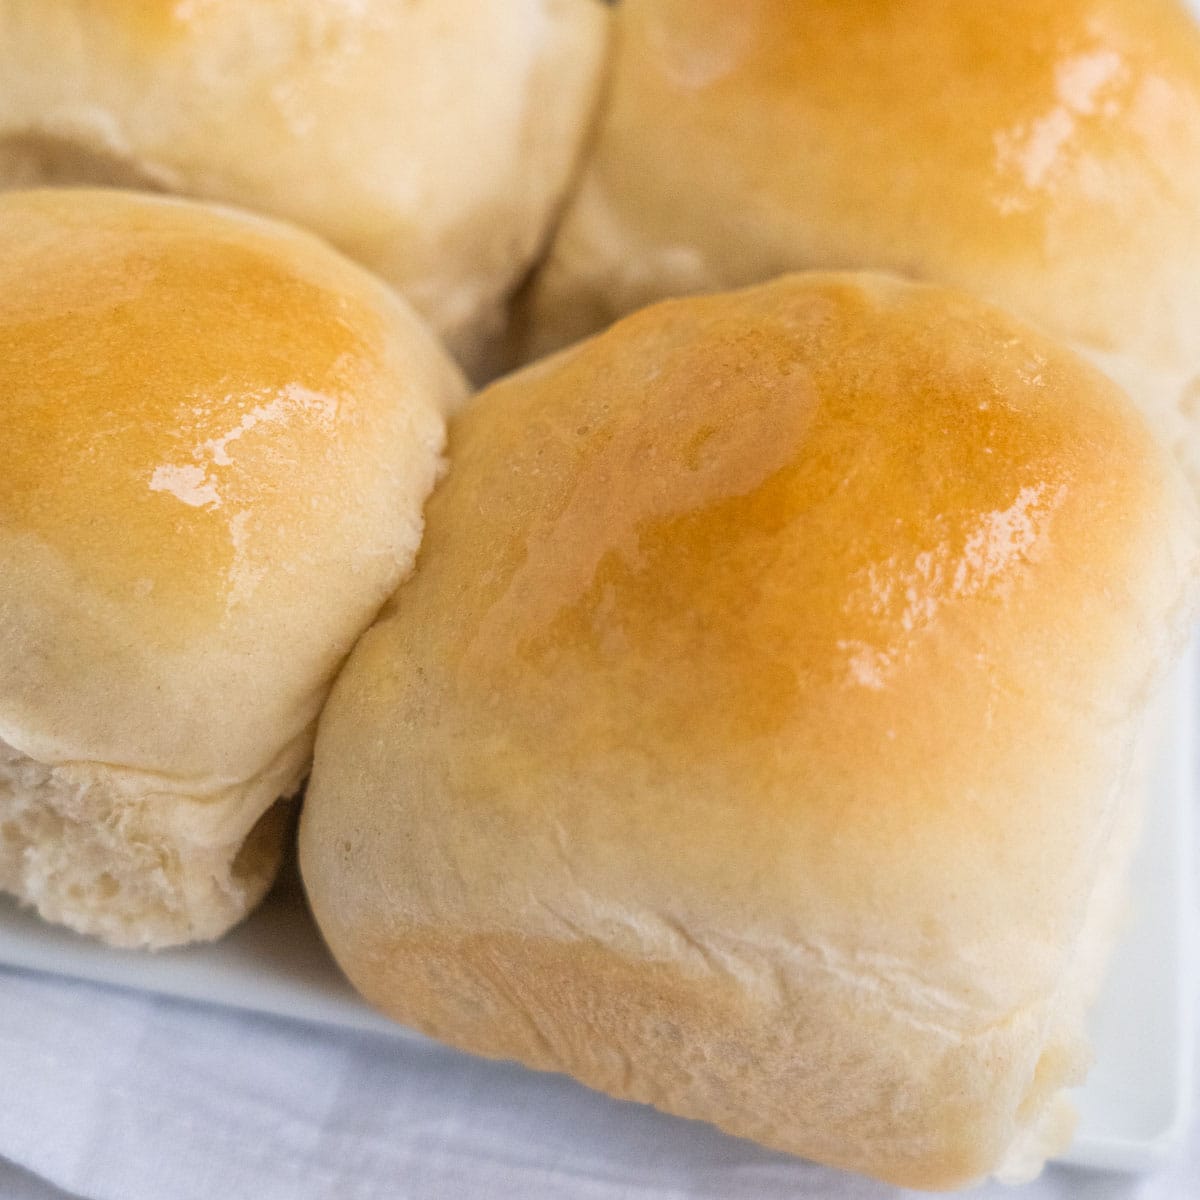
To Butter or Not to Egg Wash? This is a classic dilemma. While an egg wash (beaten egg with a splash of water) can give rolls a deep golden color and a beautiful shine, many home bakers, including myself, prefer a simpler, more flavorful approach: butter. As soon as the rolls come out of the oven, lightly brush the warm tops with melted butter. This not only imparts an incredible buttery flavor that permeates the crust but also gives them a lovely, natural sheen without the "wasted egg" feeling. Plus, who can resist extra butter?
*
Freezing for Future Feasts: These rolls are so delicious, eating them all within a day might not be a challenge! However, if you do want to save some for later, they freeze beautifully. Allow the baked rolls to cool completely. Then, place them in a single layer on a baking sheet and flash freeze them until solid (about an hour). Once frozen, transfer them to a freezer-safe bag or airtight container. They will keep well for up to 2-3 months. To reheat, simply thaw them at room temperature, then warm them in a 300°F (150°C) oven for 5-10 minutes, or until soft and warm again.
*
Serving Suggestions Beyond Butter: While butter and jam are classic pairings, don't limit yourself! These versatile rolls are excellent alongside holiday meals, comforting with a bowl of soup or chili, or even as sliders for mini sandwiches. Imagine them with pulled pork or grilled chicken! For a savory twist, consider adding a sprinkle of garlic powder, dried herbs, or a touch of grated Parmesan cheese to the dough before the second rise.
*
Troubleshooting Common Issues:
*
Dough didn't rise in the machine: Most likely culprit is old or inactive yeast. Check its expiry date. Ensure your liquids aren't too hot (which can kill yeast) or too cold (which inhibits it). Also double-check your ingredient order.
*
Rolls are dense: This can happen if the dough wasn't allowed to rise enough during the second proofing, or if you handled the dough too roughly during shaping, knocking out too much air. Make sure your proofing environment is warm and draft-free.
*
Rolls are dry: Over-baking is the usual suspect. Keep a close eye on them during the last few minutes of baking. A slightly underbaked roll is often better than an overbaked one in terms of moisture.
*
Embrace Customization: These rolls are a fantastic base. For extra richness, you can replace a quarter cup of milk with heavy cream. For a hint of warmth, try a pinch of nutmeg or cinnamon. The possibilities are endless, making these truly your signature
soft & fluffy bread machine rolls.
In these often-stressful times, finding simple pleasures in the kitchen can be incredibly therapeutic. Making a batch of
fluffy bread machine rolls offers that perfect escape – a tangible reward for minimal effort. From the moment the bread machine starts its gentle hum to the glorious sight of golden-brown rolls emerging from the oven, it's a journey of sensory delight. These homemade wonders are not just food; they're an expression of comfort, a source of joy, and a delicious way to bring your family together. So, grab your bread machine, gather those simple pantry staples, and prepare to be amazed by the softest, most flavorful rolls you've ever made. On that first warm, buttery bite, trust me, everything will feel just a little bit better.